Backing up UMP-365 – Disk Snapshot
This section describes how to create a snapshot of the UMP Virtual Machine. This procedure should be performed prior to running the upgrade and then rolled back once the upgrade is complete (see Restoring UMP Snapshot ).
| ➢ | Do the following: |
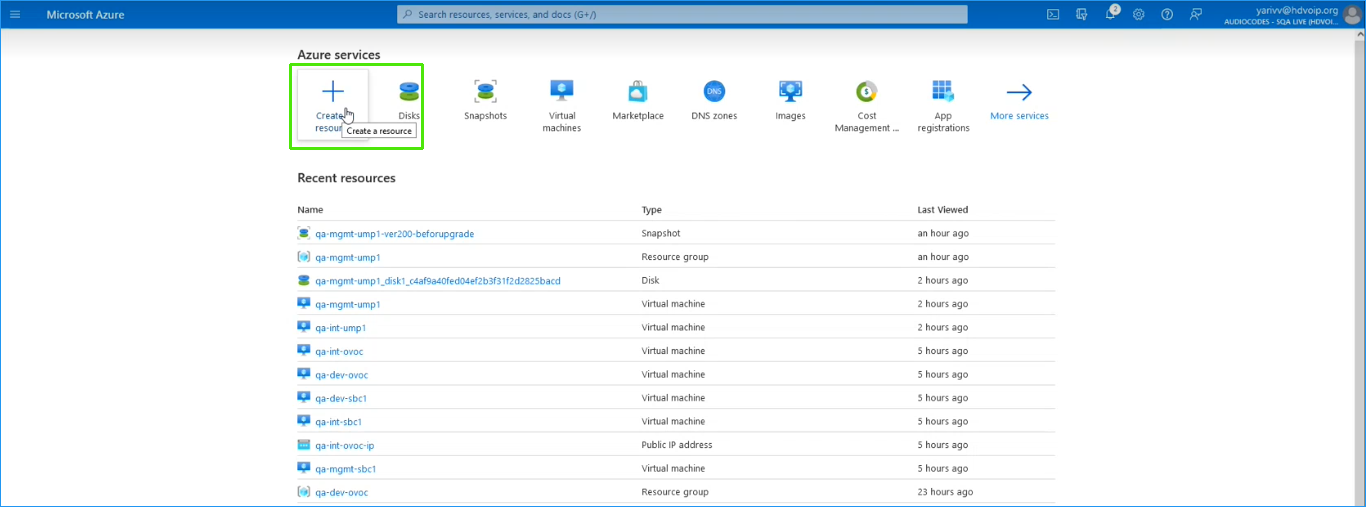
| 1. | Open the Azure portal, type "Create a Resource", and then click Create a Resource. |
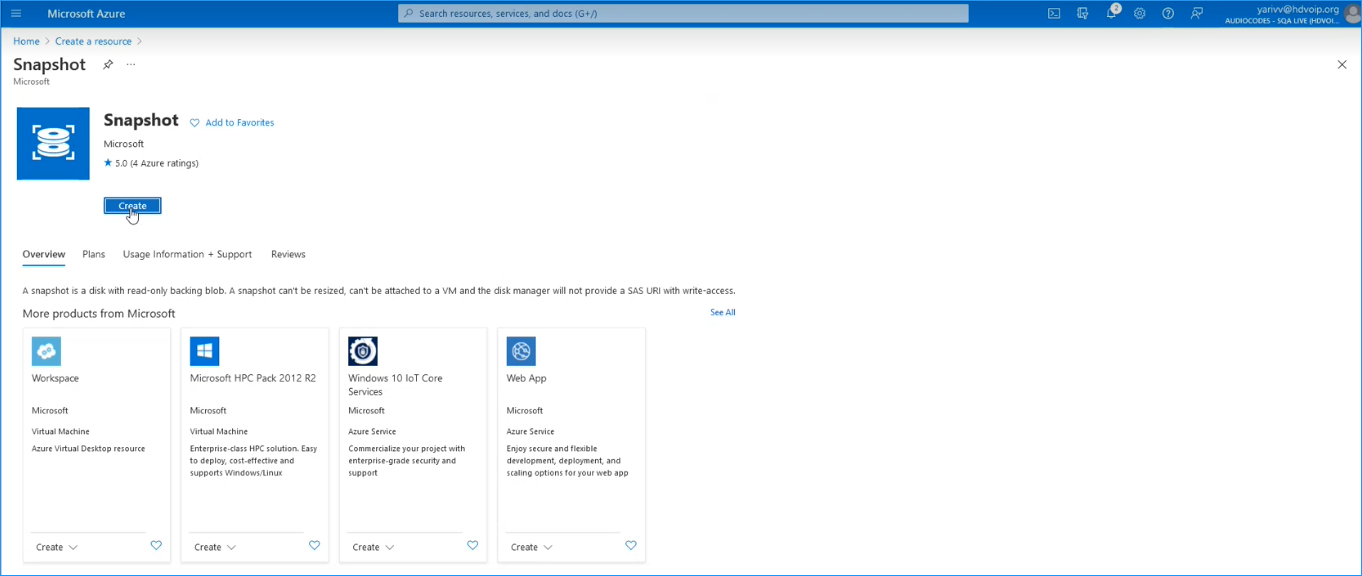
| 2. | In the Search field, type Snapshot and then click Create. |
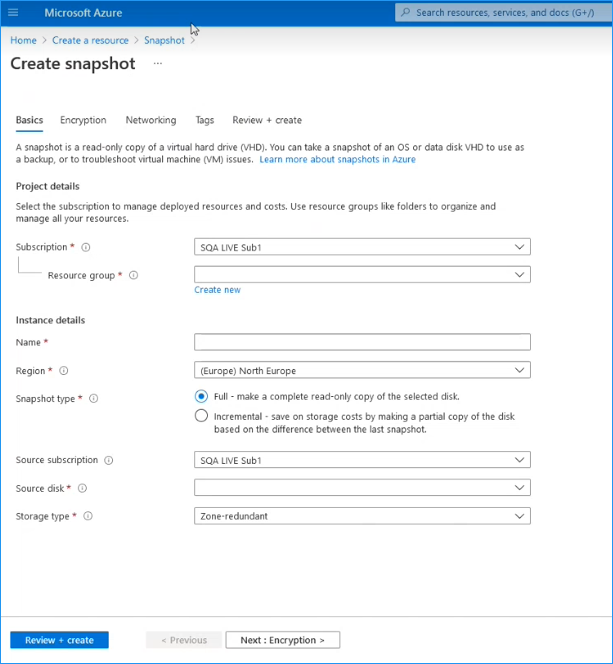
| 3. | In the Resource group field, select your working Resource Group. |
| 4. | Enter the desired name of the snapshot. |
| 5. | In the Source disk field drop-down list choose the name of the disk that you wish to backup. |
| 6. | In the Storage type field drop-down list choose the type of disk that you wish to backup e.g. Standard HDD. |
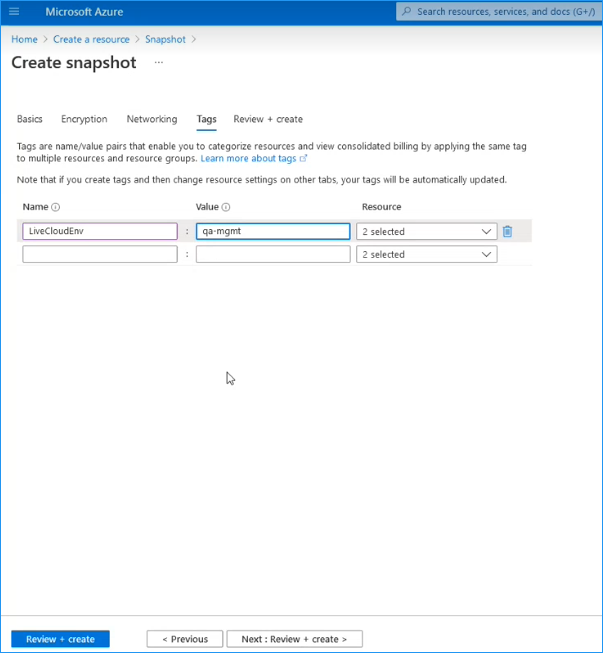
| 7. | Select the Tags tab to optionally define tags for the snapshot and then click Review + create. |
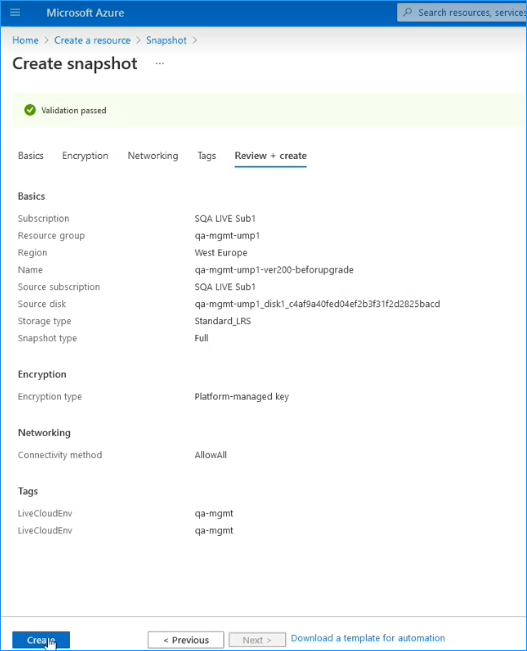
| 8. | Review the details of the snapshot and then click Create. |
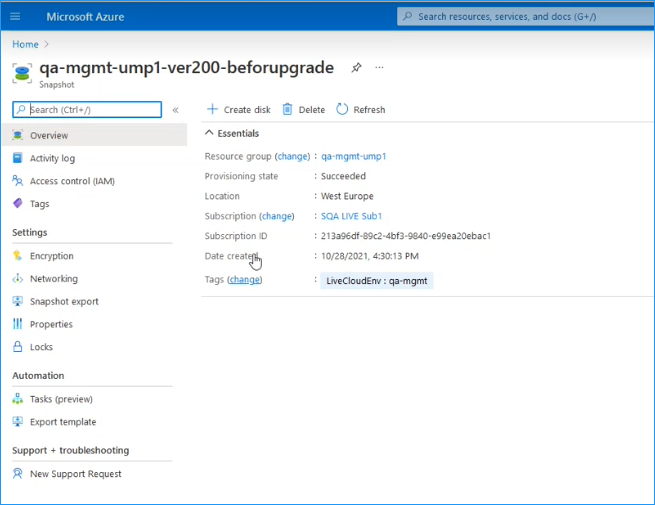
The snapshot is created. The following progress messages are displayed:

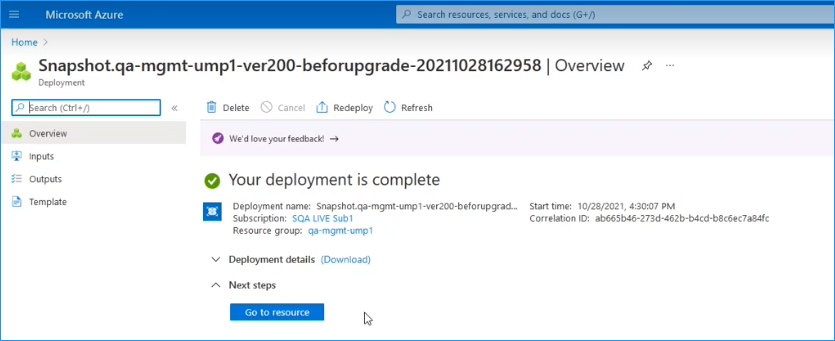
| 9. | Click Go to Resource to view details of the snapshot. |